Dimensional Shingle Installation
Dimensional shingle installation is a multifaceted process requiring precision and skill. This guide delves into the intricacies of selecting the right shingles, preparing the roof, and executing a professional installation. We’ll explore various shingle types, their aesthetic qualities, and lifespan, providing a comprehensive understanding for both homeowners and professionals. From understanding the necessary tools and safety precautions to mastering advanced techniques for complex roof designs, this guide offers a step-by-step approach to ensure a successful and long-lasting roof.
We will cover everything from the initial roof inspection and preparation to the final post-installation cleanup and maintenance. Detailed instructions, visual aids, and troubleshooting tips will help you navigate the entire process confidently. Whether you’re a seasoned roofer or a DIY enthusiast tackling your first shingle project, this comprehensive guide will empower you with the knowledge and skills to achieve a beautiful and durable roof.
Understanding Dimensional Shingles
Dimensional shingles offer a visually appealing and durable roofing solution. Their multi-layered design creates depth and shadow, enhancing the aesthetic appeal of any home. This section details the various types, compositions, and aesthetic qualities of dimensional shingles.
Types of Dimensional Shingles
The market offers a variety of dimensional shingles, each with unique characteristics. Common types include architectural shingles, which are known for their three-dimensional look, and laminated shingles, which are created by layering multiple shingle components. Other variations include those with specific designs, like wood shake or slate imitations, providing homeowners with diverse aesthetic choices.
Composition and Manufacturing Process
Dimensional shingles are typically composed of fiberglass mats saturated with asphalt. These mats are then coated with a layer of mineral granules, which provide UV protection and color. The manufacturing process involves layering different asphalt and fiberglass components to achieve the desired thickness and texture, creating a characteristic dimensional look. The layering process also contributes to the shingle’s overall durability and weather resistance.
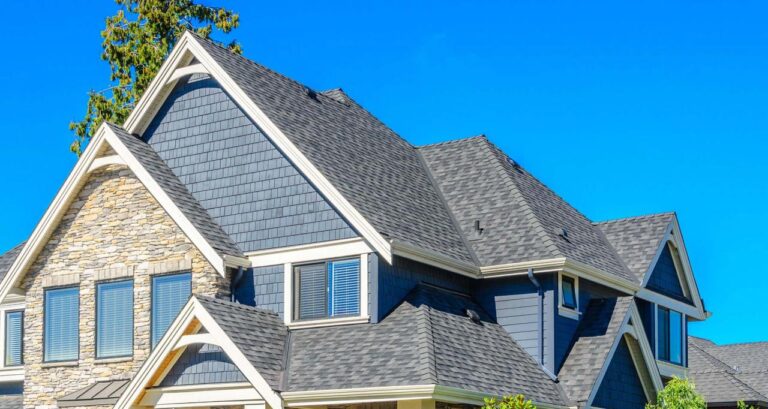
Aesthetic Qualities of Dimensional Shingle Profiles
The aesthetic appeal of dimensional shingles varies depending on the profile and color. Some profiles mimic the look of natural materials like wood shakes or slate, offering a rustic or traditional appearance. Others offer a more contemporary look with clean lines and subtle textures. Color choices range from classic earth tones to vibrant hues, allowing for customization to match various architectural styles.
Dimensional Shingle Comparison

Source: iko.com
Choosing the right shingle involves considering lifespan, warranty, and cost. The following table provides a comparison of these factors across several leading brands (Note: These are example values and may vary depending on specific product lines and market conditions).
| Brand | Lifespan (Years) | Warranty (Years) | Approximate Cost per Square |
|---|---|---|---|
| Brand A | 30-40 | 30 | $150 – $250 |
| Brand B | 35-45 | 35 | $200 – $300 |
| Brand C | 25-35 | 25 | $100 – $200 |
Preparation for Installation
Proper preparation is crucial for a successful dimensional shingle installation. This includes gathering the necessary tools, preparing the roof deck, and inspecting for any damage.
Tools and Safety Equipment
Essential tools include a roofing nail gun, measuring tape, utility knife, chalk line, safety glasses, work gloves, and a ladder. Safety harnesses and fall protection equipment are vital for ensuring worker safety, especially on steep or high roofs. Proper footwear with good traction is also crucial.
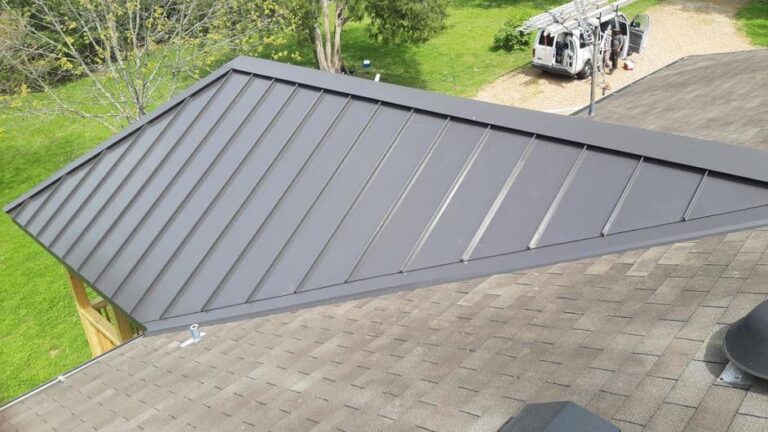
Roof Deck Preparation
Source: 1stcoastmrs.com
Before installation, the roof deck must be clean, dry, and free of debris. Any damaged or rotten sheathing should be replaced. Ensure all flashing is properly installed and sealed. The surface should be even and structurally sound to provide a stable base for the shingles.
Inspecting and Repairing Damaged Roof Sheathing
A thorough inspection of the roof deck is necessary to identify any damaged or rotten sheathing. Damaged areas should be cut out and replaced with new, properly sized sheathing. All fasteners should be securely driven to ensure a strong and stable base for the new shingles. Any areas of water damage should be addressed before installation begins.
Pre-Installation Checklist

Source: hw.net
A comprehensive checklist ensures all necessary steps are completed before installation. This checklist should include verifying the roof deck is clean and structurally sound, confirming all necessary materials are on hand, checking weather conditions, and ensuring all safety precautions are in place.
- Clean and inspect the roof deck
- Repair or replace damaged sheathing
- Install or repair flashing
- Verify sufficient materials
- Check weather forecast
- Confirm safety equipment
Installation Process
The installation of dimensional shingles is a systematic process that requires precision and attention to detail. Following these steps ensures a durable and aesthetically pleasing roof.
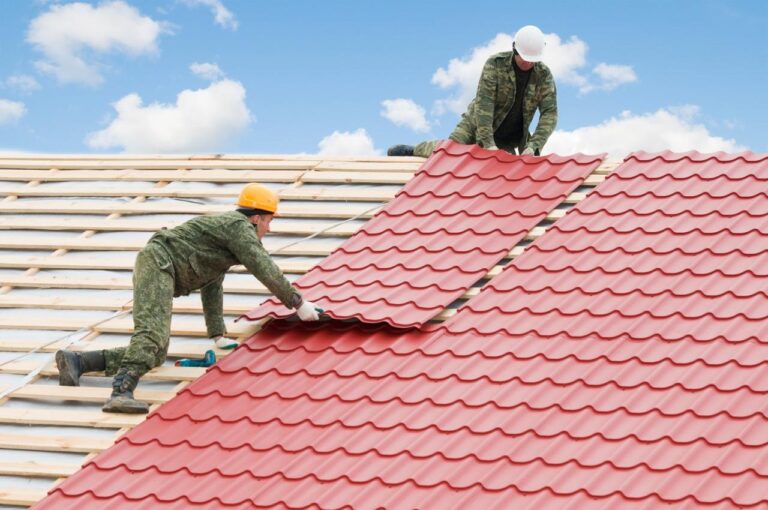
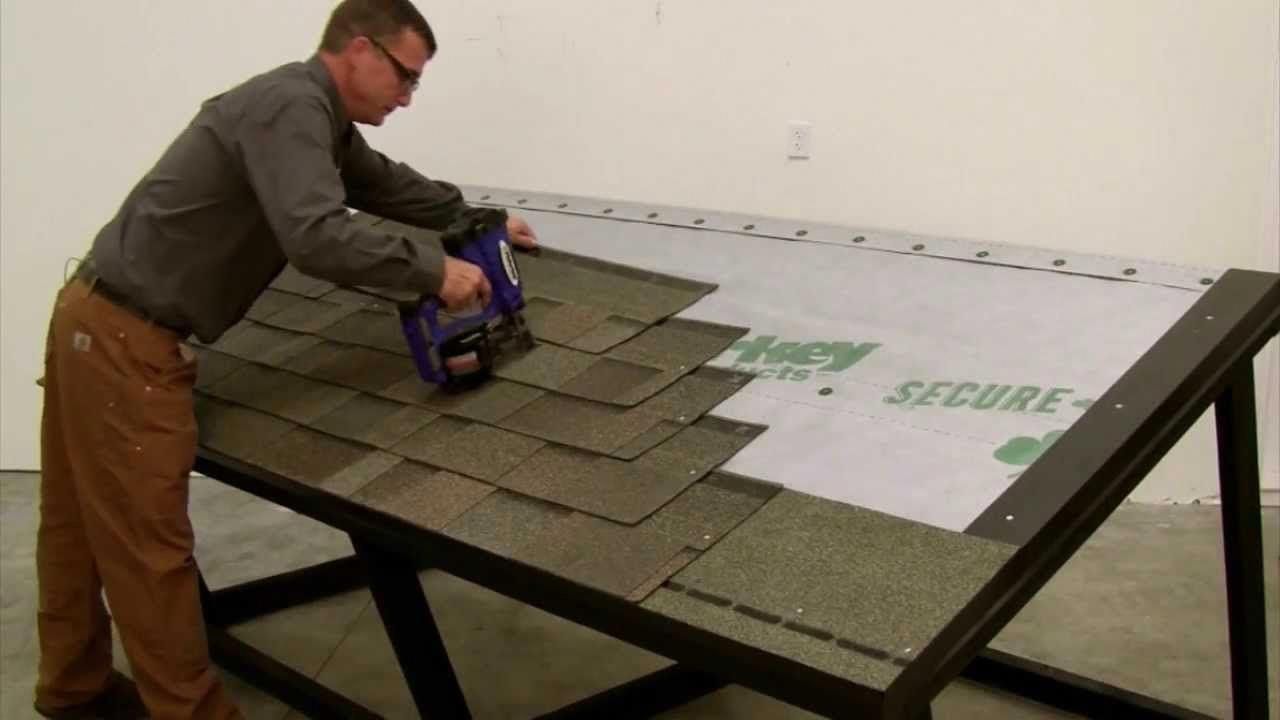
Step-by-Step Installation Guide
Installation begins with the starter course, followed by the application of subsequent shingle layers. Proper overlap and nail placement are critical for ensuring a watertight seal. The process concludes with the installation of ridge caps.
- Install starter course
- Apply the first course of shingles
- Continue layering shingles, ensuring proper overlap
- Cut and trim shingles for complex areas
- Install ridge caps
- Inspect for proper alignment and nail placement
Cutting and Trimming Shingles

Source: amazonaws.com
Precise cutting and trimming are necessary to fit shingles around vents, chimneys, and other roof features. A sharp utility knife and accurate measurements are essential for a clean, professional finish. Properly fitting the shingles around these features is crucial to prevent leaks.
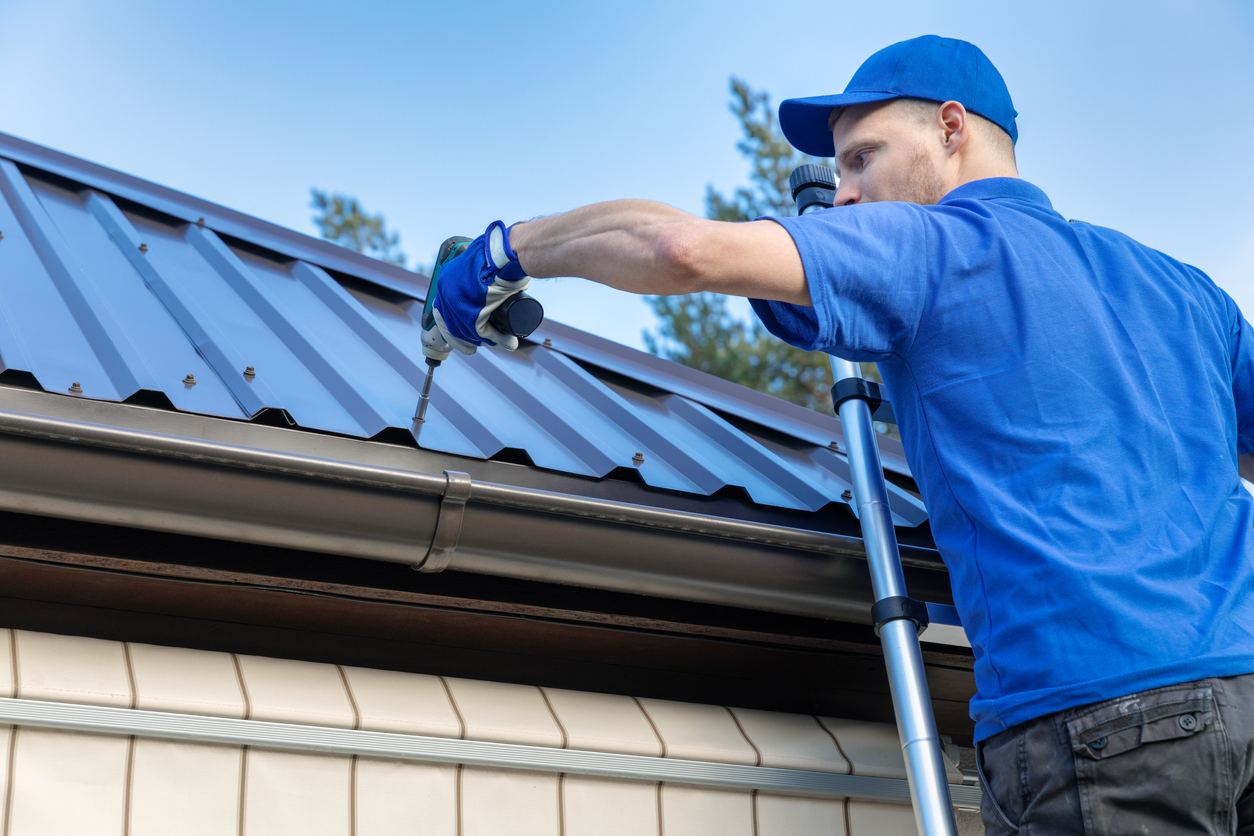
Proper Nail Placement
Using the correct number of nails per shingle is critical for secure fastening. Nails should be placed according to the manufacturer’s specifications, ensuring they penetrate the sheathing adequately to provide a secure hold. Improper nailing can lead to shingle blow-off or damage.
Visual Guide to Installation
- Begin with a starter course along the eaves.
- Apply subsequent rows, ensuring proper overlap (typically 6 inches).
- Use 4-6 nails per shingle, depending on manufacturer’s instructions.
- Cut and trim shingles as needed for complex areas.
- Seal all flashing and penetrations.
- Install ridge caps to complete the roof.
Advanced Installation Techniques
Installing dimensional shingles on complex roof designs requires specialized techniques to ensure a watertight and aesthetically pleasing result. This section addresses techniques for handling hips, valleys, ridges, and other challenging areas.
Installing Shingles on Complex Roof Designs
Hips, valleys, and ridges require careful planning and execution. Proper flashing installation is crucial in these areas to prevent water penetration. Specialized shingle cutting and placement techniques are often needed to ensure a seamless and watertight seal.
Challenges and Solutions
Source: pinimg.com
Potential challenges include working in difficult-to-reach areas, dealing with varying roof slopes, and managing weather conditions. Solutions involve using appropriate safety equipment, employing specialized tools, and scheduling the installation for favorable weather conditions. Careful planning and preparation are essential.
Handling Flashing and Critical Details
Flashing is essential for preventing water penetration around chimneys, vents, and other roof penetrations. Proper installation involves carefully sealing all joints and ensuring a watertight seal. Paying close attention to detail in these areas is crucial for preventing future problems.
Visual Representation of Shingle Overlap and Alignment
| Feature | Description |
|---|---|
| Proper Overlap | Shingles should overlap by the manufacturer’s recommended amount (typically 6 inches), ensuring a watertight seal. Consistent overlap across the entire roof is crucial. |
| Alignment | Shingles should be aligned neatly and evenly to create a uniform appearance. Careful attention to alignment improves the aesthetic appeal of the roof. |
Post-Installation Procedures: Dimensional Shingle Installation
Post-installation procedures are critical for ensuring the longevity and performance of the new roof. This includes inspection, cleanup, and ongoing maintenance.
Post-Installation Inspection
A thorough inspection is necessary to identify any issues such as improper nailing, missing shingles, or damaged flashing. Addressing these issues promptly can prevent future problems. This inspection should be done by a qualified roofing professional.
Cleaning Up Debris, Dimensional shingle installation
Cleaning up debris is essential for maintaining a safe and clean worksite. Removing nails, discarded shingles, and other debris is crucial for both safety and aesthetics. Proper disposal of waste materials is also important.
Maintaining Dimensional Shingles
Regular maintenance, including inspecting for damage and clearing debris, extends the lifespan of dimensional shingles. Annual inspections are recommended to identify and address potential issues early. Prompt attention to any damage helps prevent larger problems.
Potential Post-Installation Problems and Solutions
- Problem: Leaking around chimneys or vents. Solution: Inspect and reseal flashing.
- Problem: Loose or missing shingles. Solution: Secure or replace the affected shingles.
- Problem: Granule loss. Solution: This is a normal process but excessive loss may indicate a problem; consult a roofing professional.
Illustrative Examples
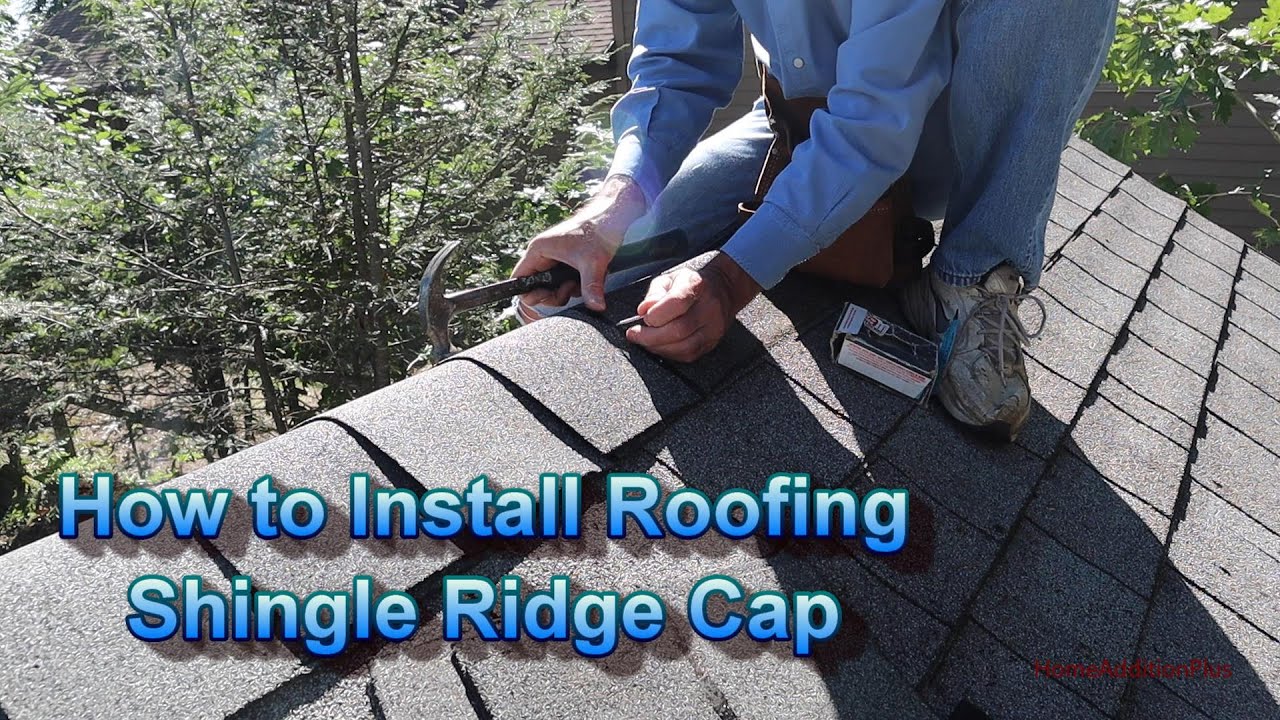
Source: ytimg.com
This section provides detailed examples of complex roof installations, properly installed shingles, and the visual impact of dimensional shingles on different architectural styles.
Complex Roof Installation Scenario
Consider a roof with multiple valleys, hips, and dormers. The installation requires careful planning and execution, including precise cutting and placement of shingles around these complex features. Proper flashing installation is critical in these areas to prevent water penetration. Experienced installers utilize specialized techniques to manage the varying roof slopes and angles.
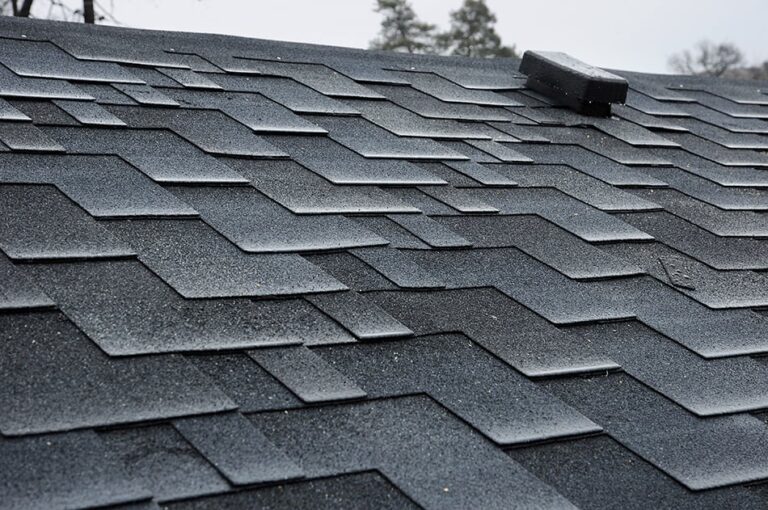
Properly Installed Dimensional Shingle
A properly installed shingle demonstrates consistent overlap and alignment. Nails are placed according to the manufacturer’s specifications, ensuring a secure hold. The shingle lies flat against the roof deck, with no gaps or wrinkles. The edges are neatly trimmed and aligned with adjacent shingles, creating a uniform appearance.
Visual Appeal on Different Architectural Styles
Dimensional shingles enhance the aesthetic appeal of various architectural styles. In a traditional home, they can create a classic, timeless look. In a modern home, they can add a touch of sophistication and elegance. The color and profile of the shingles can be chosen to complement the overall architectural design.
Comparison of Poorly and Properly Installed Shingles
A poorly installed shingle section may exhibit uneven alignment, inconsistent overlap, and improper nailing. Flashing may be improperly installed, leading to potential leaks. In contrast, a properly installed section demonstrates consistent overlap, precise nail placement, and neatly trimmed edges. Flashing is properly installed and sealed, ensuring a watertight seal.
Quick FAQs
What is the best time of year to install dimensional shingles?
Ideally, dimensional shingles should be installed during dry, moderate weather conditions. Avoid extreme heat or cold, as these can affect the shingle’s adhesion and longevity.
How long does dimensional shingle installation typically take?
The installation time varies depending on the roof size and complexity. A small roof might take a few days, while a large or complex roof could take a week or more.
Can I install dimensional shingles myself?
While possible for smaller, simpler roofs, installing dimensional shingles is a challenging task requiring specialized skills and safety precautions. Hiring a professional is often recommended, especially for complex roof designs.
How often should I inspect my dimensional shingle roof?
Regular inspections, at least twice a year (spring and fall), are recommended to identify and address any potential issues early on, such as missing or damaged shingles, or signs of leaks.
What is the warranty on dimensional shingles?
Warranty periods vary by manufacturer and shingle type. Check the manufacturer’s specifications for details on coverage and limitations.