Metal Roof To Asphalt Shingle Transition
Metal roof to asphalt shingle transition presents a unique challenge in roofing, requiring careful consideration of aesthetics, structural integrity, material compatibility, and cost-effectiveness. Successfully navigating this transition involves understanding the interplay of different roofing materials, their respective lifespans, and the potential for compatibility issues. This guide will explore the key aspects of this transition, offering practical solutions and best practices for a seamless and long-lasting roof.
From the visual impact of contrasting textures and colors to the structural complexities of ensuring a watertight seal, every detail contributes to the overall success of the project. We’ll delve into design techniques, cost analyses, and installation methods, empowering you with the knowledge to make informed decisions and achieve a visually appealing and structurally sound roof.
Aesthetic Considerations of the Metal-to-Asphalt Shingle Roof Transition
The visual appeal of a roof transition from metal to asphalt shingles significantly impacts a building’s overall aesthetic. A poorly planned transition can appear jarring and detract from the building’s architectural style, while a well-executed transition can seamlessly integrate both roofing materials, enhancing the home’s curb appeal.
Effective Design Solutions for Visual Integration
Several design techniques can successfully blend metal and asphalt shingles. Careful material selection and strategic placement are key to achieving a harmonious visual effect. The following table provides examples of effective design solutions.
| Image Description | Material Combination | Design Technique | Overall Effect |
|---|---|---|---|
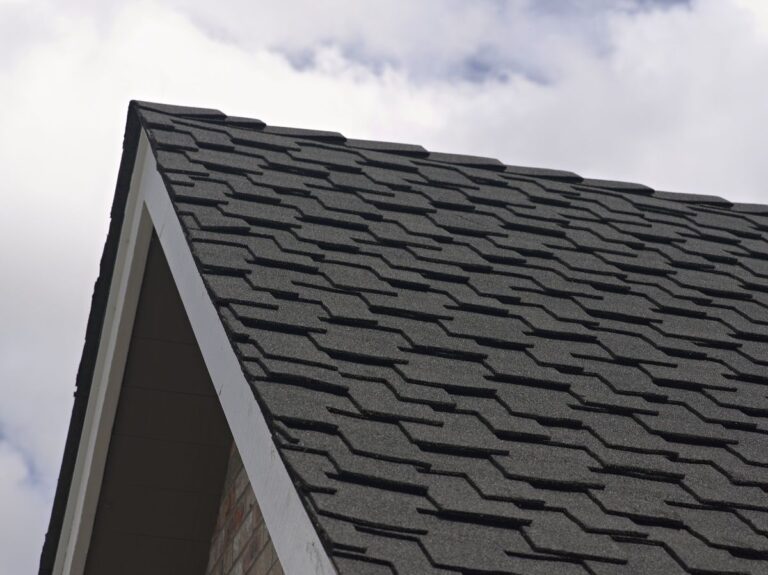
| A gable roof with a darker metal roof covering the main section, transitioning to lighter-colored asphalt shingles on a smaller dormer. The metal roofline is subtly emphasized with a contrasting metal flashing. | Dark grey metal, light brown asphalt shingles | Color contrast defined roofline | Elegant and sophisticated contrast |
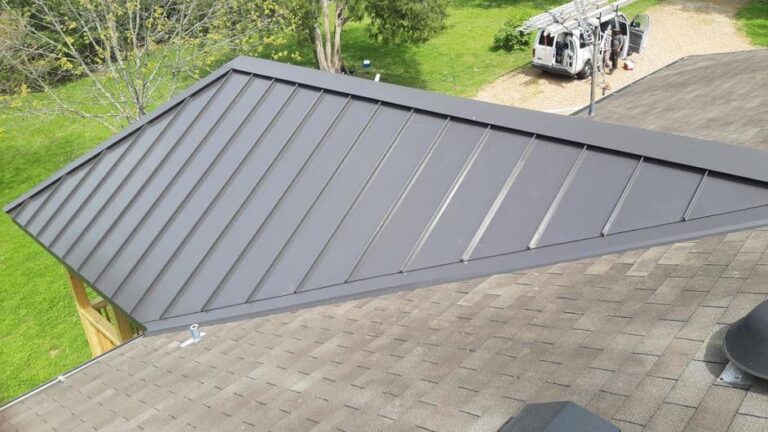
| A hip roof with a seamless transition is achieved by using matching colors of metal and asphalt shingles. The transition line is barely visible. | Dark brown metal, dark brown asphalt shingles | Color matching minimized visible transition | A clean and unified look |
| A complex roofline with multiple gables, utilizing metal on the steeper sections and asphalt shingles on the shallower areas. The transition is highlighted with a decorative metal trim. | Grey metal, grey asphalt shingles | Material zoning, decorative trim | Visually interesting and balanced |
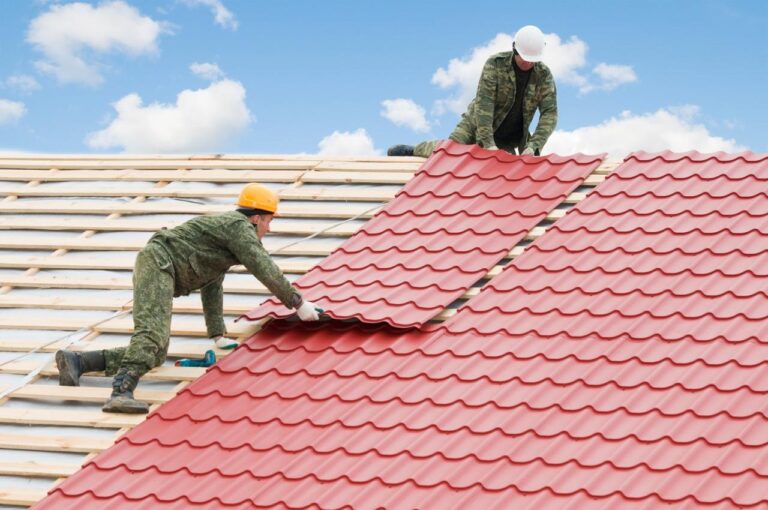
| A low-slope roof using metal on the main section and asphalt shingles on a small addition. The transition is masked with a carefully placed chimney and fascia. | Red metal, brown asphalt shingles | Architectural elements camouflage transition | Subtle and harmonious |
Influence of Color Choices on Visual Harmony
Color plays a crucial role in the visual success of a metal-to-asphalt shingle transition. Matching or complementing colors creates a cohesive look while contrasting colors can produce a more dramatic effect. Consider the overall architectural style of the building and the surrounding landscape when selecting colors. For example, earth tones generally provide a more natural and harmonious look, while bolder color choices can add a modern or contemporary touch.
Structural Implications of the Transition: Metal Roof To Asphalt Shingle Transition
Structurally sound transitions are critical for preventing leaks and ensuring the long-term integrity of the roof. Careful consideration must be given to the roof pitch, flashing, and sealing at the transition point.
Structural Considerations and Roof Pitches
The steepness of the roof pitch influences the design and installation of the transition. Steeper pitches generally require more robust flashing and sealing to prevent water penetration. On flatter roofs, proper drainage is paramount to avoid ponding water.
Ensuring Proper Flashing and Sealing to Prevent Leaks, Metal roof to asphalt shingle transition
Proper flashing and sealing are crucial for preventing water damage. The following steps Artikel the installation process:
- Install underlayment on both the metal and asphalt shingle sections, extending it well beyond the transition line.
- Install flashing at the transition point, ensuring it overlaps both roofing materials and creates a watertight seal.
- Apply sealant to all seams and joints to prevent water leakage.
- Carefully install the asphalt shingles, ensuring proper overlap and alignment with the metal roofing.
- Inspect the completed transition for any gaps or imperfections and seal as needed.
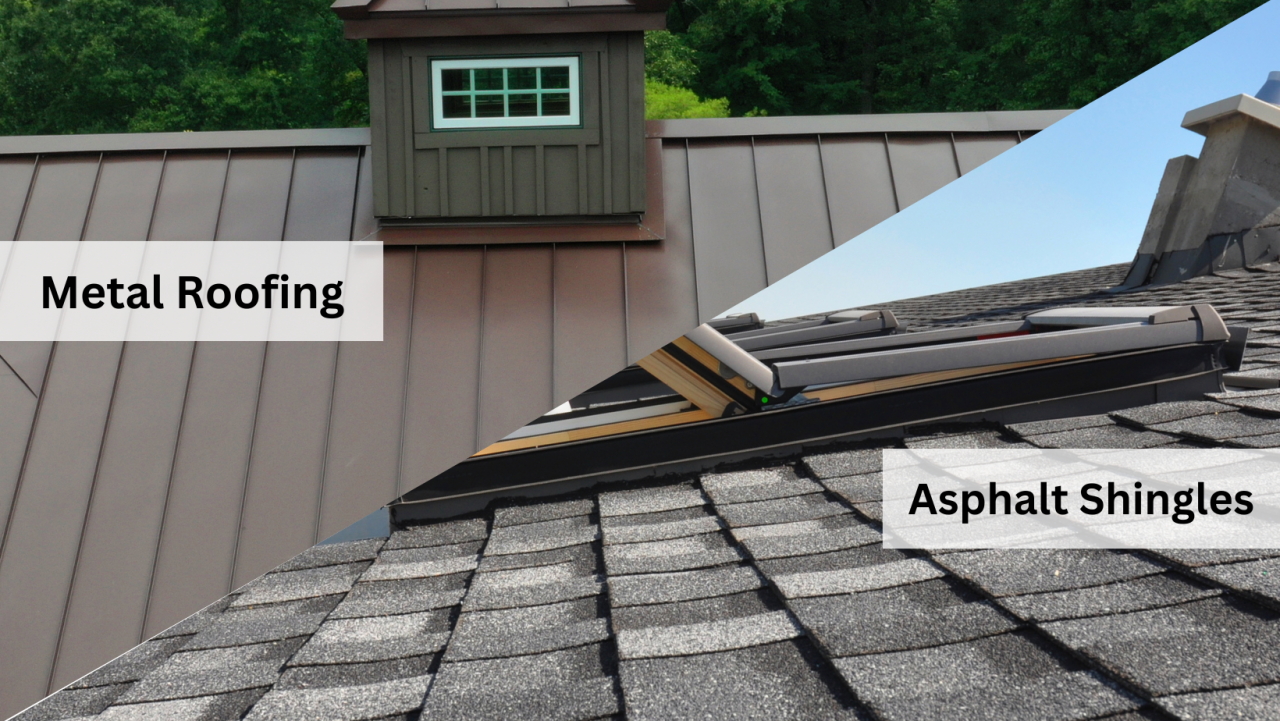
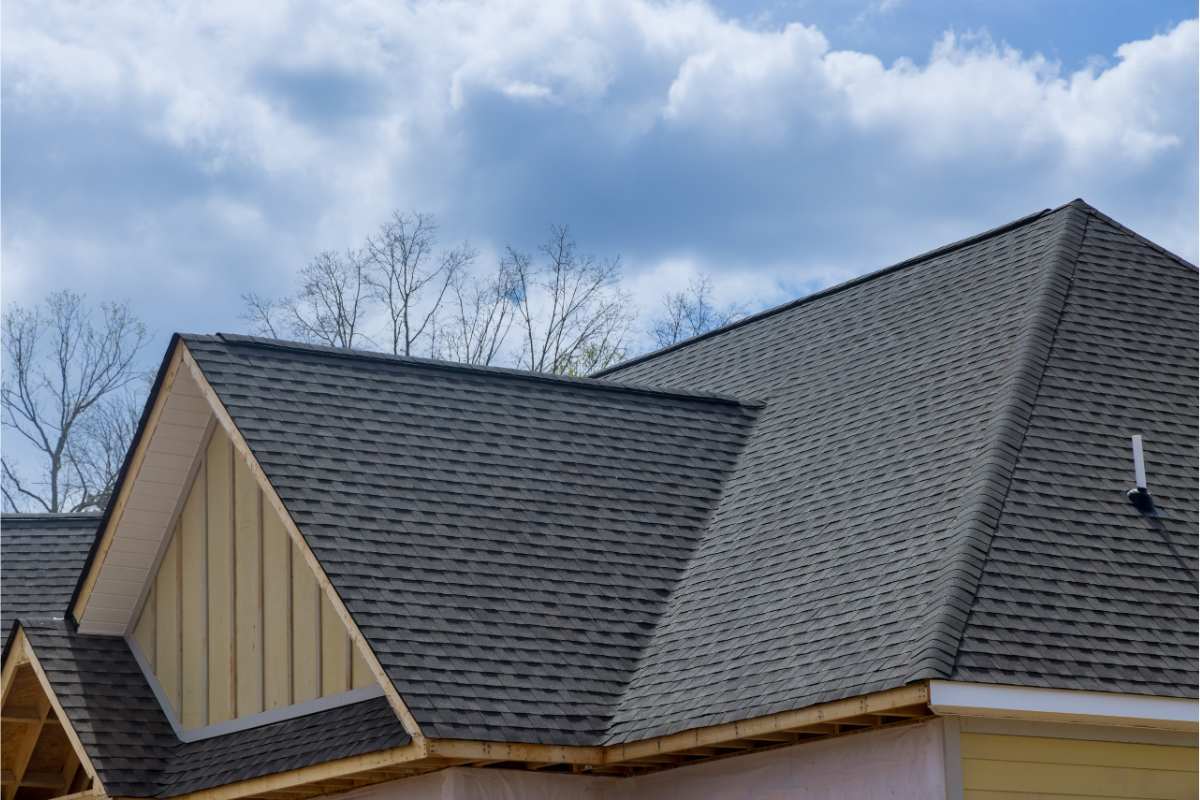
Material Compatibility and Longevity
Source: invinciblemetalroofing.com
Understanding the lifespan and maintenance needs of metal and asphalt shingles is essential for planning a durable and long-lasting roof system. While both materials have their strengths, compatibility issues can arise if not carefully addressed.
Lifespan, Maintenance, and Potential Compatibility Issues
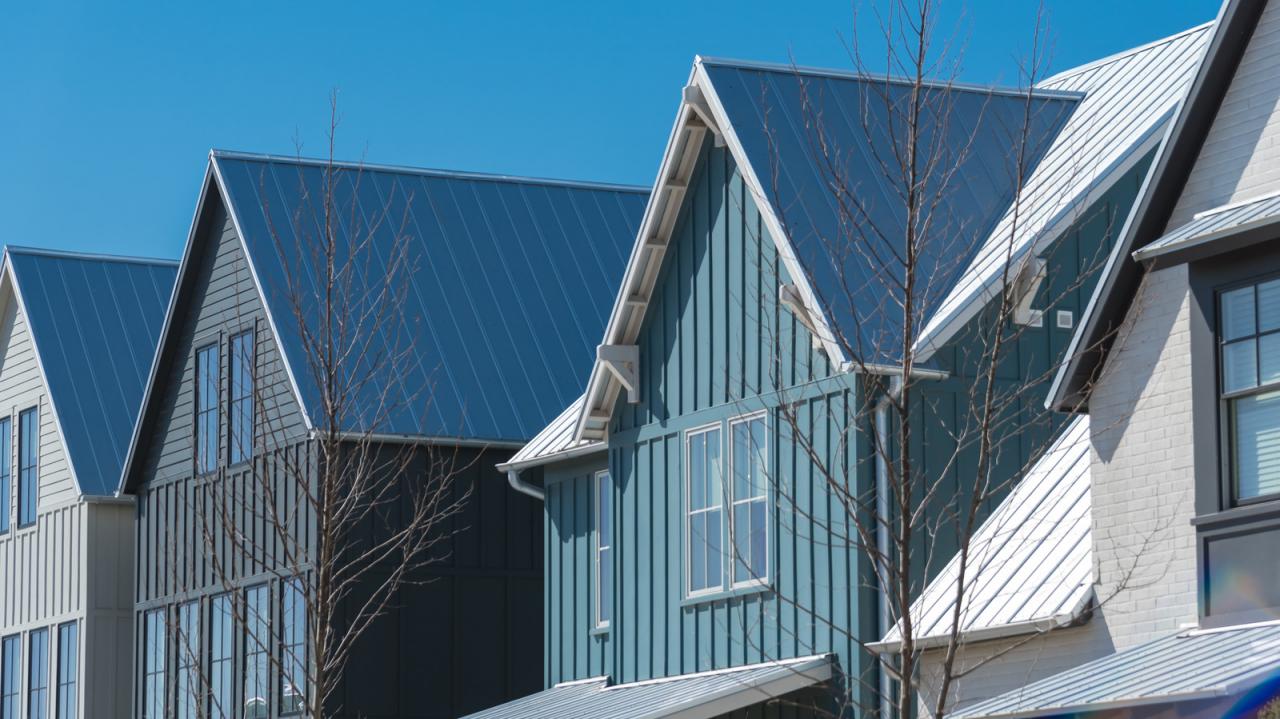
Source: housedigest.com
Metal roofs generally have a significantly longer lifespan than asphalt shingles (50+ years versus 15-30 years), requiring less maintenance. However, expansion and contraction of the metal can potentially cause issues if not properly accounted for during the transition. Improper flashing can lead to corrosion of the metal near the transition area. Selecting compatible materials and proper installation techniques minimize these risks.
Best Practices for Selecting Compatible Materials
Choose materials that are designed to work together. Use high-quality flashing and sealants rated for both metal and asphalt shingles. Ensure that the chosen metal roofing system is compatible with the type of asphalt shingles used.
Cost Analysis of the Transition
The cost of a metal-to-asphalt shingle transition varies depending on several factors, including material choices, labor costs, and the complexity of the roofline. A detailed cost breakdown helps in budgeting and comparing this solution to other roofing options.
Cost Breakdown of a Metal-to-Asphalt Shingle Roof Transition
| Cost Item | Description | Estimated Cost | Notes |
|---|---|---|---|
| Materials | Metal roofing, asphalt shingles, flashing, sealant, underlayment | $5,000 – $15,000 | Costs vary significantly based on material quality and quantity. |
| Labor | Installation of materials, removal of old roofing (if necessary) | $5,000 – $10,000 | Labor costs depend on the complexity of the roof and local labor rates. |
| Permits and Inspections | Building permits and inspection fees | $500 – $1,000 | Costs vary depending on local regulations. |
| Contingency | Unexpected costs or repairs | $500 – $1,000 | A contingency is always recommended. |
Cost Comparison and Material Choice Impact
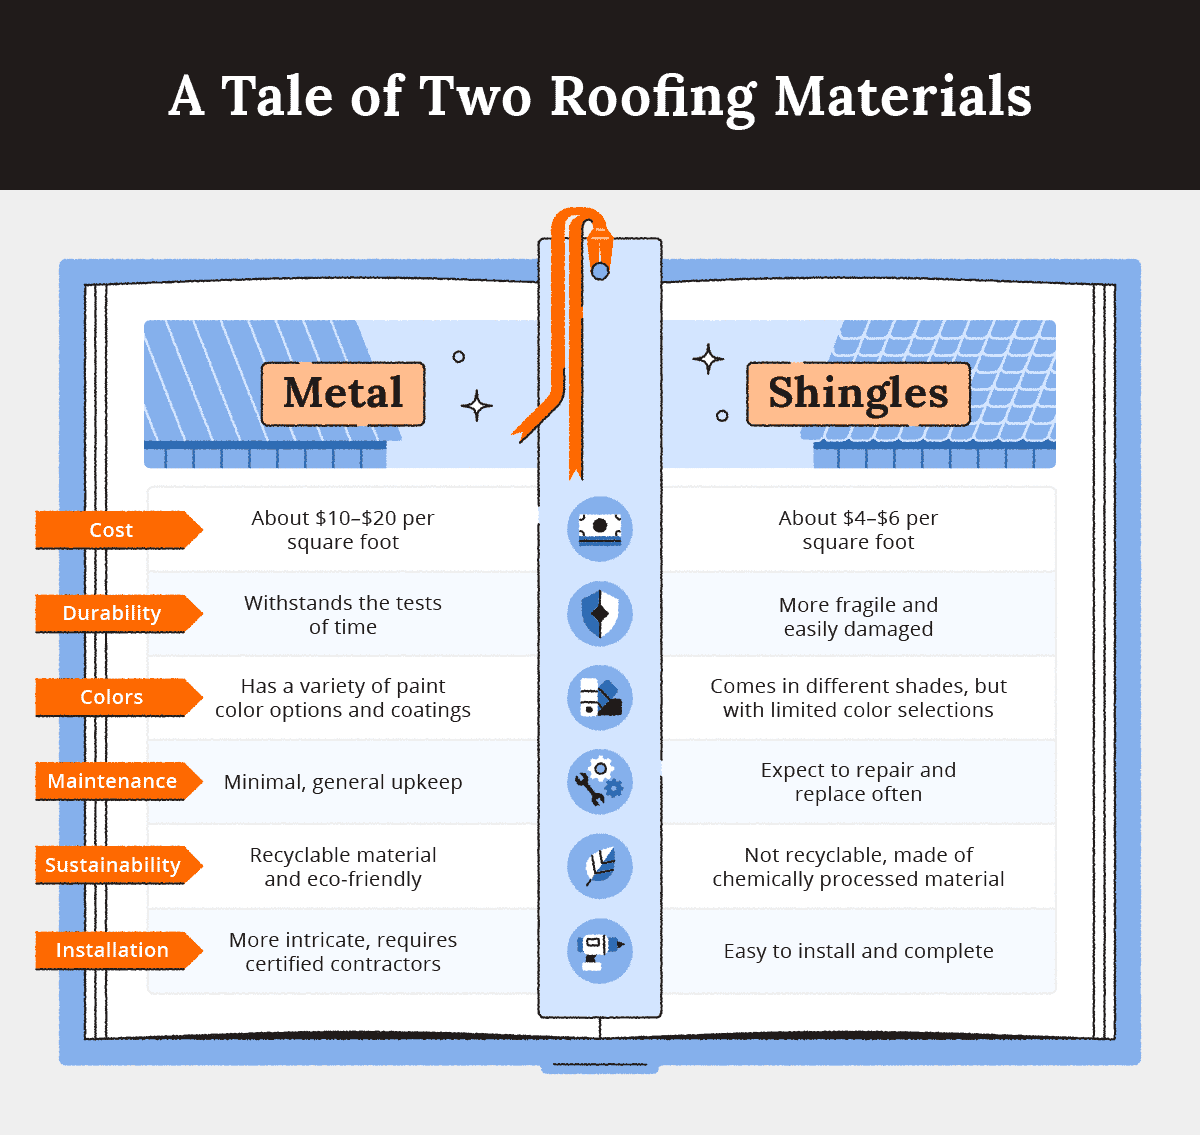
Source: alansfactoryoutlet.com
The total cost of a metal-to-asphalt shingle transition is generally higher than a complete asphalt shingle roof but often less expensive than a full metal roof. The choice of materials significantly impacts the overall cost; higher-quality materials generally result in higher upfront costs but potentially lower long-term maintenance expenses.
Weather Resistance and Performance
A well-designed and installed metal-to-asphalt shingle transition effectively withstands various weather conditions. Proper design minimizes issues like wind uplift, ice damming, and water leakage.
Performance in Various Weather Conditions
The transition should effectively manage water runoff in heavy rain. The metal section’s slope assists in rapid water shedding, while the asphalt shingles provide additional protection. Properly designed flashing prevents water from seeping under the shingles. In snowy conditions, the transition should minimize snow accumulation and prevent ice dams by allowing for proper ventilation and drainage. Wind uplift is mitigated by secure fastening of both the metal and asphalt shingles, along with proper flashing installation.
Water Runoff and Snow Accumulation Management
Imagine a cross-section of the transition. The steeper metal roof directs water away from the transition point. The flashing acts as a barrier, preventing water from penetrating the joint. The asphalt shingles are overlapped to provide additional protection. Snow accumulation is minimized by the steeper slope of the metal roof and the design of the flashing system. Proper ventilation reduces the likelihood of ice dam formation.
Mitigation of Wind Uplift and Ice Damming
Secure fastening of both roofing materials and proper flashing installation are crucial in mitigating wind uplift. Proper ventilation behind the shingles and sufficient overhang help prevent ice dam formation.
Installation Methods and Best Practices
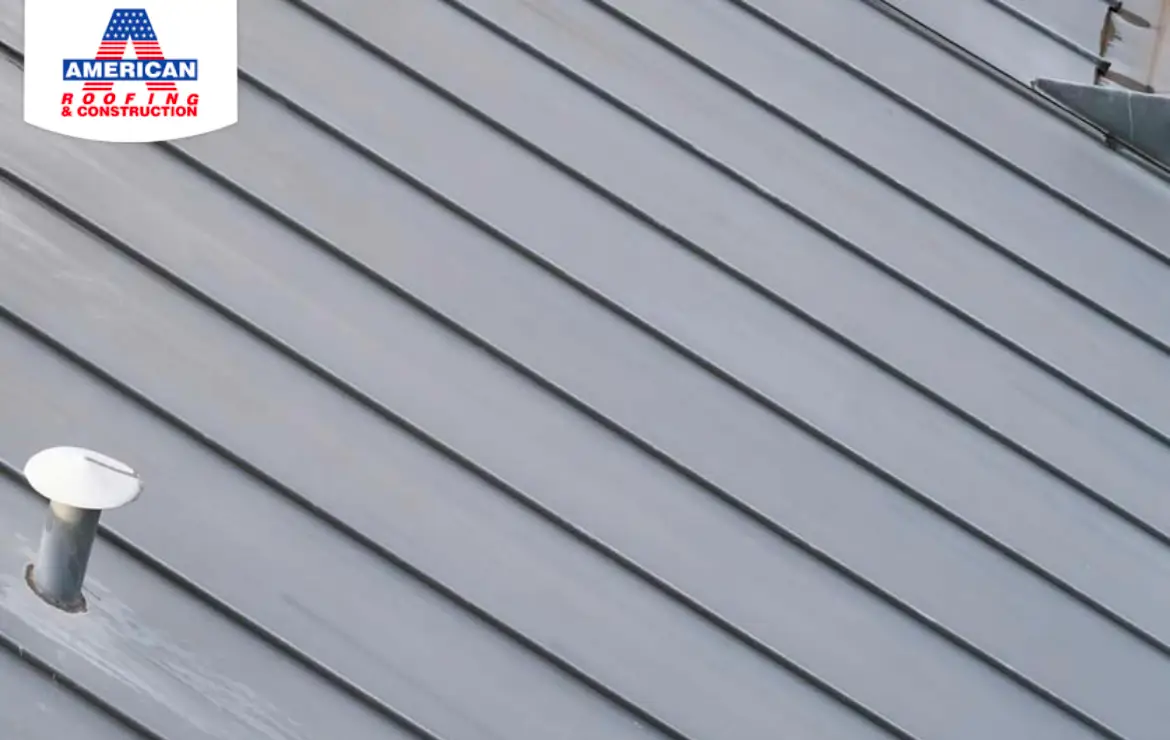
Source: americanroofingco.com
Successful installation of a metal-to-asphalt shingle transition requires careful planning and execution. Following best practices and using the right tools and materials are key to avoiding common installation mistakes.
Step-by-Step Installation Guide
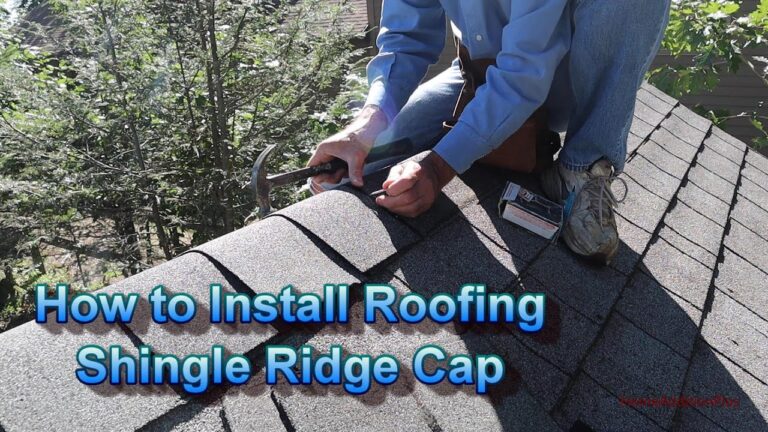
Source: roofgnome.com
- Prepare the roof surface: Remove any existing roofing materials and clean the surface thoroughly.
- Install underlayment: Apply underlayment to both the metal and asphalt shingle sections.
- Install flashing: Install flashing at the transition point, ensuring proper overlap and sealing.
- Install metal roofing: Install the metal roofing on the designated area, ensuring proper fastening and alignment.
- Install asphalt shingles: Install the asphalt shingles, ensuring proper overlap and alignment with the metal roofing.
- Inspect and seal: Inspect the completed transition for any gaps or imperfections and seal as needed.
Tools and Materials Required
Necessary tools include a hammer, roofing nails, utility knife, sealant gun, measuring tape, and safety equipment. Required materials include metal roofing, asphalt shingles, flashing, sealant, underlayment, and any necessary trim.
Preventative Measures to Avoid Common Installation Mistakes
Ensure proper ventilation to prevent moisture buildup. Use high-quality materials and follow the manufacturer’s instructions carefully. Properly seal all seams and joints to prevent leaks. Regularly inspect the transition area for any signs of damage or wear and address them promptly.
FAQ Explained
What are the common causes of leaks at the metal-to-asphalt shingle transition?
Improper flashing installation, inadequate sealing, and gaps between materials are common causes of leaks. Poor workmanship during installation is another frequent culprit.
How long does a metal-to-asphalt shingle transition typically last?
The lifespan depends on the quality of materials and installation. With proper installation and maintenance, the transition should last as long as the shorter-lived roofing material (typically the asphalt shingles).
Can I perform this transition myself, or should I hire a professional?
While some DIY-inclined individuals may attempt aspects of the installation, it’s highly recommended to hire a qualified roofing professional for this complex transition to ensure proper installation and prevent future problems.
Are there any specific warranties related to this type of roof transition?
Warranties vary depending on the materials used and the installer. It’s crucial to check the manufacturer’s warranty for each component and obtain a warranty from the installer covering their workmanship.
What are some common mistakes to avoid during the installation?
Common mistakes include inadequate flashing, insufficient sealant, improper nailing, and neglecting to address any underlying roof damage before beginning the transition.